
Reviewed · STIRLING, LOCH LOMOND & KELPIES
From Edinburgh: Loch Lomond, Stirling Castle & The Kelpies
Those 30-metre horse heads change your mood fast. This day trip lines up The Kelpies for a jaw-dropping photo stop, then leans hard into Stirling Castle with stories tied to Scotland’s wars of independence, all wrapped with Loch Lomond scenery. I like how the route feels “big hit, not endless driving,” so you still get multiple Scotland highlights in one go.
My other favorite part is the mix of iconic sights and meaningful context: you’re not just looking at statues and stone walls, you’re hearing why they matter. One possible drawback to plan around is that the Loch Lomond time is limited, so the Balmaha stop works best for quick views and a stretch, not for long wandering.
In This Review
- The Kelpies: 30 Metres of Steel Horse Heads, Right Off the Coach
- Balmaha and Loch Lomond: How 1 Hour Fits the Bonnie Banks
- Stirling Town Time and the Castle That Tells Wallace and Bruce
- Coach Day Plan: Timing, Comfort, and Where the Day Can Feel Tight
- Live Guide + Audio Guides: Getting the Best From Both
- Price and Value: Why $55 Works for Some Plans
- Who This Tour Fits Best (And Who Should Rethink It)
- Should You Book This Edinburgh to Loch Lomond and Stirling Day Trip?
- FAQ
- Where is the meeting point for this tour?
- How long is the tour?
- What stops are included on the route?
- Is Stirling Castle entrance included in the price?
- What languages are available for the downloadable audio guides?
- Do I need a headset for the audio guide?
- Is hotel pickup or drop-off included?
- What should I bring for the day?
- Can I smoke or bring alcohol on the coach?
- Is the tour wheelchair accessible?
The Kelpies: 30 Metres of Steel Horse Heads, Right Off the Coach
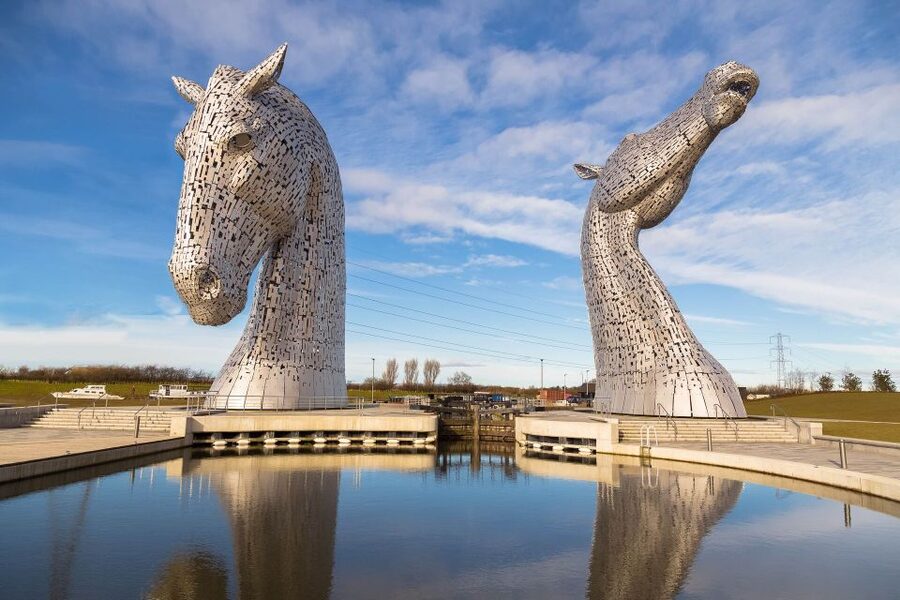
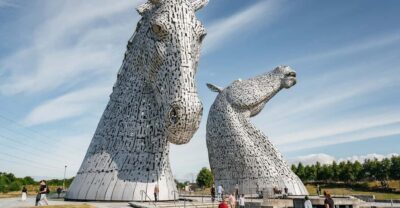
The morning starts with The Kelpies, the world-famous horse-head sculptures that rise about 30 metres high. The scale is the first surprise: even if you’ve seen pictures, being there makes it feel like a modern myth has landed in the countryside. These are made from roughly 300 tonnes of steel, and the gleaming surfaces catch light in a way that makes your photos look like they were planned.
You get a dedicated photo stop and some on-site time (about 30 minutes). That window is short, but it’s usually enough to walk to a couple of viewpoints, get the classic front-on shots, and take in the surrounding water-and-trails setting that’s part of the story. You’ll also hear the legend tied to a mythical water-dwelling beast, which adds a fun layer if you like folklore as much as photos.
Practical tip: bring your camera settings already chosen. The sculptures reflect light, and you’ll move between angles quickly. Comfortable shoes matter here too; you’ll want a steady step for paths near the viewing areas.
More castles, Kelpies and Loch Lomond within a day of the city.
- From Edinburgh: Loch Lomond, Stirling Castle & Kelpies Tour★ 4.6 · 2,360 reviews
- Loch Lomond, Kelpies & Stirling Castle Tour Including Admission★ 4.5 · 1,305 reviews
- Edinburgh: Loch Lomond, Stirling Castle and the Kelpies Day Tour★ 4.5 · 1,198 reviews
- From Edinburgh: Stirling Castle, Kelpies and Loch Lomond★ 4.7 · 1,051 reviews
Balmaha and Loch Lomond: How 1 Hour Fits the Bonnie Banks
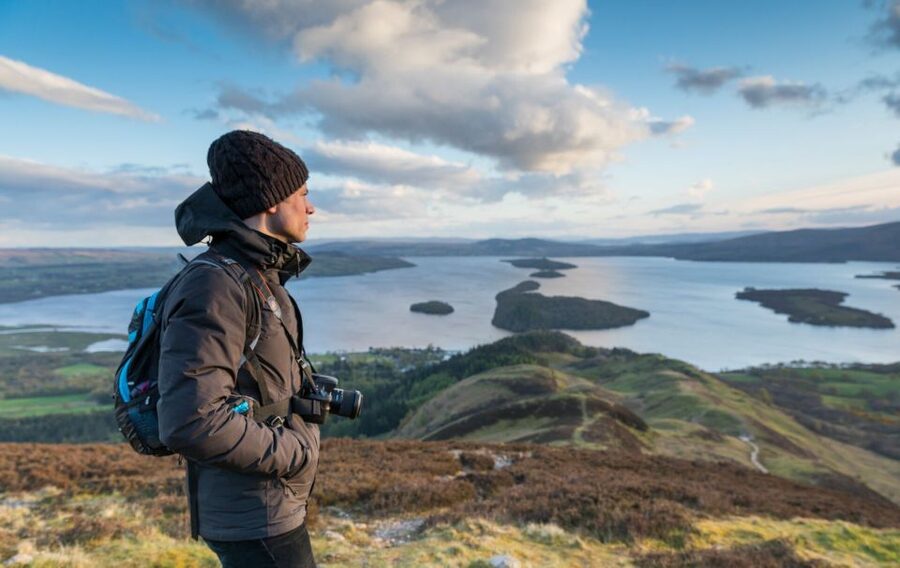
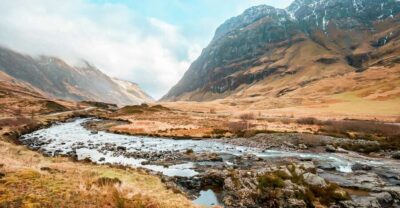
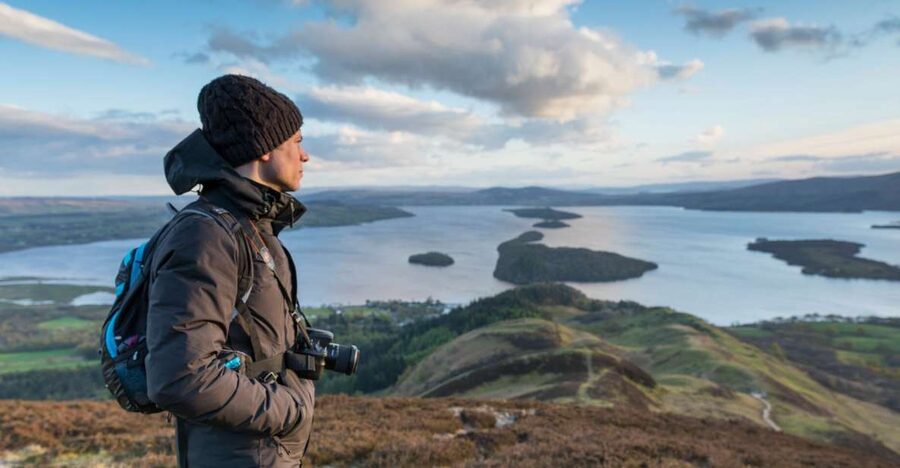
After the Kelpies, the tour shifts to Loch Lomond, where the “bonnie” reputation comes from the combination of water, forest edges, and open viewpoints. You’ll make a stop in Balmaha, a small village that gives you about an hour of free time plus sightseeing.
This is the part where you need to match your expectations to the schedule. The stop is designed for:
- stretch your legs
- soak up the view(s)
- grab a quick snack if you brought one or plan to buy something nearby
If you’re hoping to hike to several lookout points or do a deep exploration, the timing likely won’t feel generous. The upside is that you still get Loch Lomond’s mood—fresh air, classic scenery, and that “Scotland is bigger than my phone screen” feeling—even in a short window.
One more thing: Balmaha is linked to the famous local mountain, Ben Lomond, described here as Scotland’s most southerly munro. Even if you don’t climb, knowing that it’s in the backdrop helps you “read” the scenery. You’ll understand what you’re looking at while you’re waiting for the next leg of the day.
Weather check matters. Loch Lomond can shift fast. If it’s cloudy or windy, your best bet is to focus on whichever viewpoint looks clearest at the moment rather than trying to force one perfect spot.
Stirling Town Time and the Castle That Tells Wallace and Bruce
Stirling is where the day’s pace turns more historical. You’ll have about 2.5 hours of free time in Stirling, which is a real advantage because it gives you options. You can wander town streets, window-shop, or just slow down and enjoy a break before the castle.
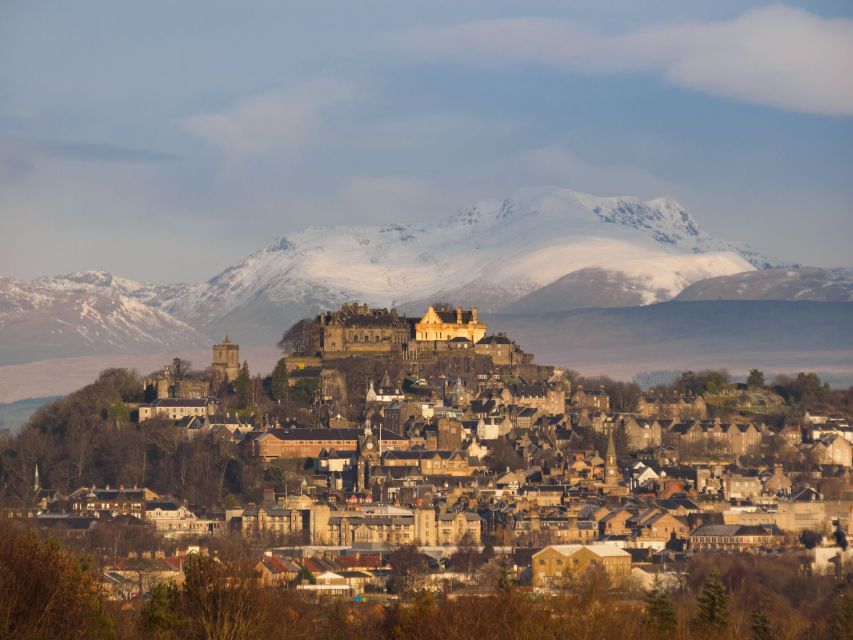
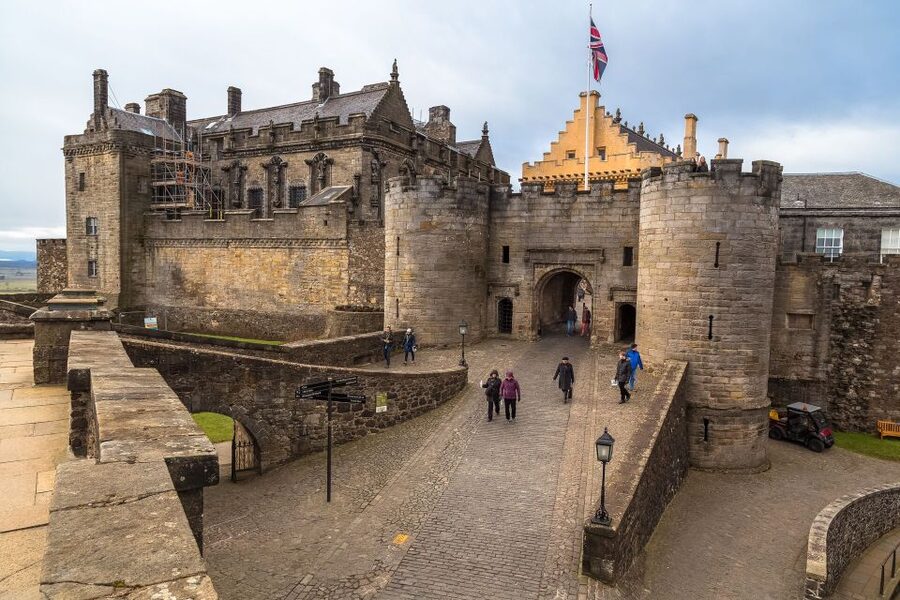
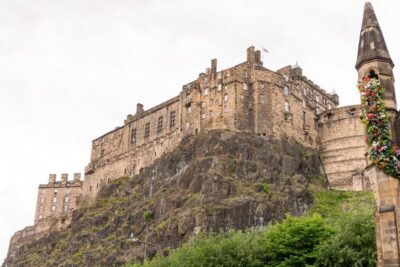
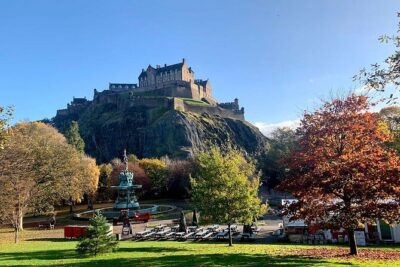
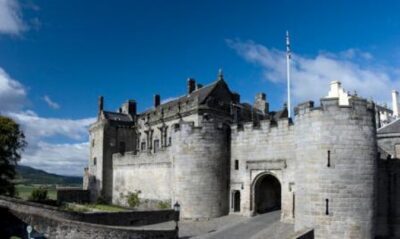
Then it’s up to Stirling Castle, one of Scotland’s great fortress experiences, set high on Castle Hill. This place is tied to major moments in Scotland’s Wars of Independence, including the era when William Wallace and Robert the Bruce were central figures. You’ll walk halls that connect royal drama with battlefield urgency, and the views from the hill make the setting feel strategic rather than just scenic.
The castle visit is the reason many people do this tour. Stone can feel flat if it’s only dates and labels, but the structure here makes stories feel physical. You stand in the right place to understand why power and defense mattered. Even if you’re not a hardcore history person, you’ll likely get the sense that this wasn’t just a home—it was a command post in a tense era.
Practical tip: wear shoes you can trust on slopes and steps. You’ll be moving at your own pace, but castle grounds don’t forgive soft soles or slippery footing.
Coach Day Plan: Timing, Comfort, and Where the Day Can Feel Tight
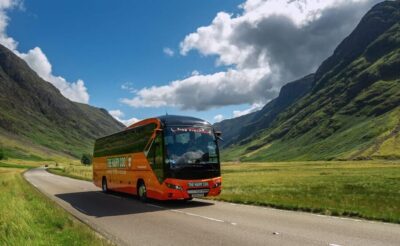
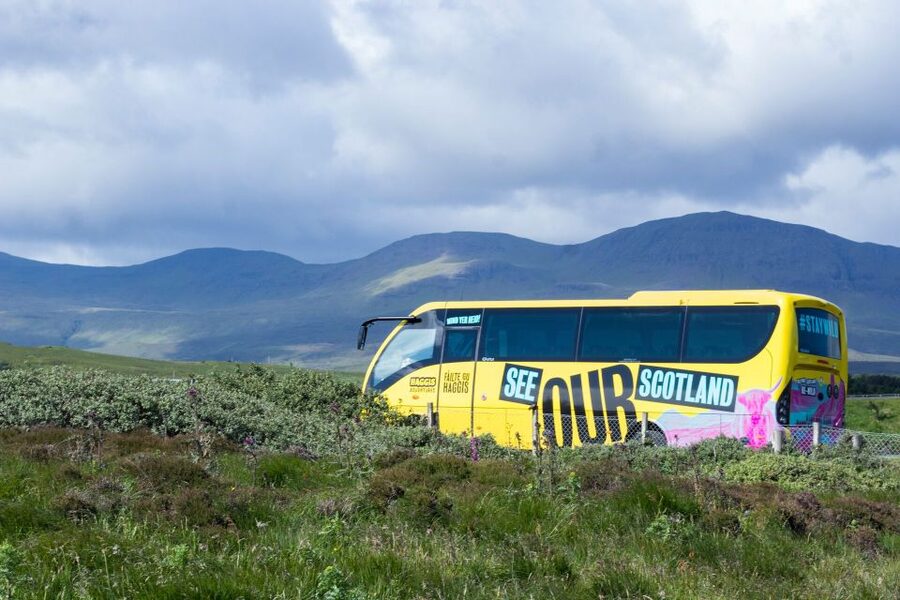
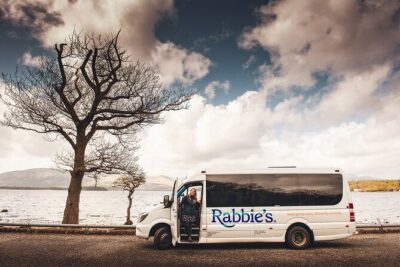
This tour is a full 9-hour day, starting from Haggis Adventures and running as a coach route with travel segments built in. The first transfer from Edinburgh is around 45 minutes to the Kelpies, then the day continues through Loch Lomond and back to Stirling for the castle.
That overall rhythm is the trade-off for value. You’re covering a lot, so you won’t get the kind of slow travel that turns stops into full-day experiences. It’s best to treat each site like a “hit list moment” rather than a long stay. I think that mindset makes the day smoother and helps you avoid feeling rushed when you only have about an hour in Balmaha.
Comfort is worth discussing. One common complaint I’d take seriously is that the coach seating can feel tight. So if you’re tall, sensitive to cramped legs, or just want an easier ride, pack for comfort: a light layer, and position yourself early so you don’t end up stuck in the most cramped seats.
Also, the tour includes both guided time and free time. When free time hits, you’re responsible for your own decisions—where to walk, where to pause, when to rejoin. That’s normal for tours like this, but it means it pays to keep an eye on the group and the timing cues from your guide.
Live Guide + Audio Guides: Getting the Best From Both
You’ll have a live tour guide in English, plus downloadable audio guides in multiple languages. The audio guide languages listed are Chinese, English, Spanish, French, Portuguese, German, and Italian. If you want to use the audio, the instructions tell you to bring a headset.
This setup can be great because it lets you choose your style: some people prefer sticking to the live guide and letting it all flow naturally. Others like hearing a parallel explanation in their language while they look around.
Here’s the consideration: language expectations can make or break the experience. I’ve seen cases where people booked expecting a different language and felt the audio didn’t line up with what the guide was saying. Your takeaway is simple—if language matters a lot to you, double-check what’s offered for the live guide and have a plan for using the audio guide so you’re not stuck switching back and forth mid-stop.
When audio is working well, it turns the day into a layered experience: you look at the Kelpies, then you understand the legend tied to the mythical water-dwelling beast; you see the castle, then you connect the scenes to the independence-era stories. That “see + understand” combo is why tours like this feel worth the effort.
Price and Value: Why $55 Works for Some Plans
At about $55 per person for a 9-hour day, this tour is priced like a classic highlights package: transport, a live guide, and downloadable audio guides are included. Entrance fees and meals are not included, so you’ll want to budget a bit extra depending on what you plan to eat and whether you need to pay for any sites separately.
So where’s the value? It’s mostly in the combination of:
- one guided day from Edinburgh
- multiple major stops (Kelpies, Loch Lomond area, Stirling town, Stirling Castle)
- English live guiding plus audio options
If you’d otherwise drive or bus-hop on your own, you’re paying to have the logistics handled and to spend your energy on seeing. If you hate coaches, you’ll feel the trade-off faster. But if you’re okay with a structured day, $55 can feel like a fair deal for covering a lot of ground efficiently.
Bring snacks or plan for a meal stop strategy. Meals aren’t included, so your comfort depends on how you handle it.
Who This Tour Fits Best (And Who Should Rethink It)
This is a strong choice if you want a single-day Edinburgh trip that hits three headline attractions and gives you story context along the way. I’d especially recommend it for first-timers who don’t want to plan transport between towns and sights.
It’s also a good fit if you enjoy short, focused viewing windows. The Kelpies gives you just enough time to enjoy and photograph. Balmaha keeps things light and scenic. Then Stirling Castle is where you get the deeper, slower experience.
A couple groups should think carefully:
- Children under 5 are not suitable.
- Wheelchair users are listed as not suitable, though collapsible wheelchairs are described as allowed if accompanied by someone to assist with boarding. If you’re in this category, confirm details directly before you go.
If you want lots of free time to roam Loch Lomond extensively, this likely won’t satisfy. You’ll see and feel the place, but you won’t have the time for major hikes or extended exploring.
Should You Book This Edinburgh to Loch Lomond and Stirling Day Trip?
Book it if you want an efficient highlights day: The Kelpies, a Loch Lomond stop in Balmaha, and Stirling Castle with independence-era stories are a powerful combination for one day. I also think it works well when you’re traveling with a group or you just want the confidence that the route, timing, and guidance are handled.
Skip it or rethink it if you’re sensitive to coach comfort and tight seating, or if you’re hoping for a long, flexible exploration of Loch Lomond. The pacing is the core trade-off, and the Balmaha window is not meant for deep trekking.
My best advice: treat Balmaha as a “views and stretch” stop, not a basecamp. Then you’ll feel like you got the right amount of Loch Lomond without the disappointment that comes from expecting more time.
FAQ
Where is the meeting point for this tour?
You meet at Haggis Adventures. Arrive about 15 minutes early and look for your designated queue so staff can check you in.
How long is the tour?
The total duration is 9 hours.
What stops are included on the route?
The itinerary includes stops at The Kelpies (photo stop and visit), Balmaha (visit, free time, sightseeing), Stirling (free time and sightseeing), and Stirling Castle (visit).
Is Stirling Castle entrance included in the price?
No. Entrance fees are not included.
What languages are available for the downloadable audio guides?
The audio guides include Chinese, English, Spanish, French, Portuguese, German, and Italian.
Do I need a headset for the audio guide?
Yes, if you plan to use the audio guide, you’re advised to bring your headset.
Is hotel pickup or drop-off included?
No. Hotel pickup and drop-off are not included.
What should I bring for the day?
Bring comfortable shoes, a camera, and weather-appropriate clothing. If you’re using the audio guide, bring your headset.
Can I smoke or bring alcohol on the coach?
Smoking in the vehicle is not allowed. Alcohol and drugs are also not allowed.
Is the tour wheelchair accessible?
Wheelchair users are listed as not suitable. The details also say collapsible wheelchairs are allowed if you are accompanied by someone to assist with boarding, so it’s important to confirm your situation in advance.
More Tour Reviews in Edinburgh
- Edinburgh: Loch Ness, Glencoe & the Scottish Highlands Tour★ 4.6 · 17,446 reviews
- Edinburgh: Harry Potter Magical Guided Walking Tour★ 4.8 · 11,944 reviews
- Edinburgh: Underground Vaults Tour★ 4.6 · 11,758 reviews
- Edinburgh Castle: Guided Walking Tour with Entry Ticket★ 4.7 · 11,699 reviews
- From Edinburgh: Loch Ness, Glencoe & Scottish Highlands Tour★ 4.7 · 11,381 reviews
Stirling, the Kelpies & Loch Lomond
- From Edinburgh: Loch Lomond, Stirling Castle & Kelpies Tour★ 4.6 · 2,360 reviews
- Loch Lomond, Kelpies & Stirling Castle Tour Including Admission★ 4.5 · 1,305 reviews
- Edinburgh: Loch Lomond, Stirling Castle and the Kelpies Day Tour★ 4.5 · 1,198 reviews
- From Edinburgh: Stirling Castle, Kelpies and Loch Lomond★ 4.7 · 1,051 reviews
- From Edinburgh: Loch Lomond, Kelpies & Stirling Castle Tour★ 4.7 · 1,043 reviews
Fresh off the cobbles: newer Edinburgh tours we have written up
Stirling, Loch Lomond & Kelpies, compared.
 ★ 4.6Loch Lomond, Stirling Castle & Kelpies TourFrom $612,360 reviews
 ★ 4.5Loch Lomond, Kelpies & Stirling Castle Tour Including AdmissionFrom $721,305 reviews
 ★ 4.5Loch Lomond, Stirling Castle and the Kelpies Day TourFrom $631,198 reviews
 ★ 4.7Stirling Castle, Kelpies and Loch LomondFrom $611,051 reviews
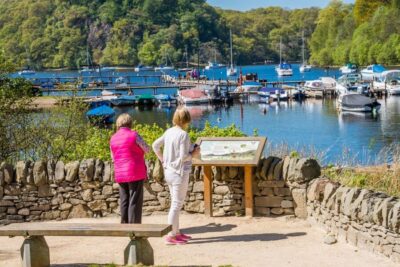 ★ 4.7Loch Lomond, Kelpies & Stirling Castle TourFrom $571,043 reviews
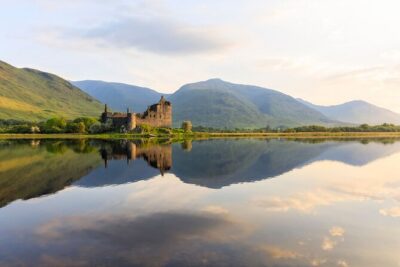 ★ 5.01 Day Castles, West Highlands and Loch Lomond Tour from EdinburghFrom $88850 reviews
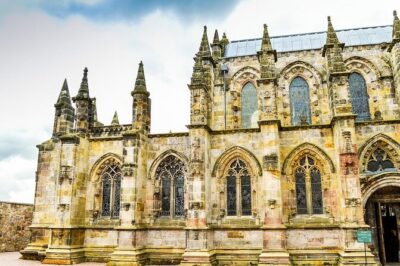 ★ 4.5Rosslyn Chapel, Dunfermline Abbey and Stirling Castle Day TourFrom $77649 reviews
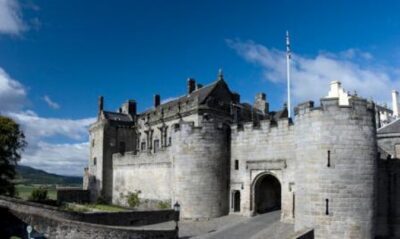 ★ 5.0Day Trip to Loch Lomond and Trossachs National Park with Optional Stirling Castle Tour from Edinburgh626 reviews
Browse the lists this tour appears in